Five Key Features of Portainer
Five Key Features of Portainer 1. Docker Environments 2. Access Control 3. CI/CD Capabilities 4. …
07.05.2023
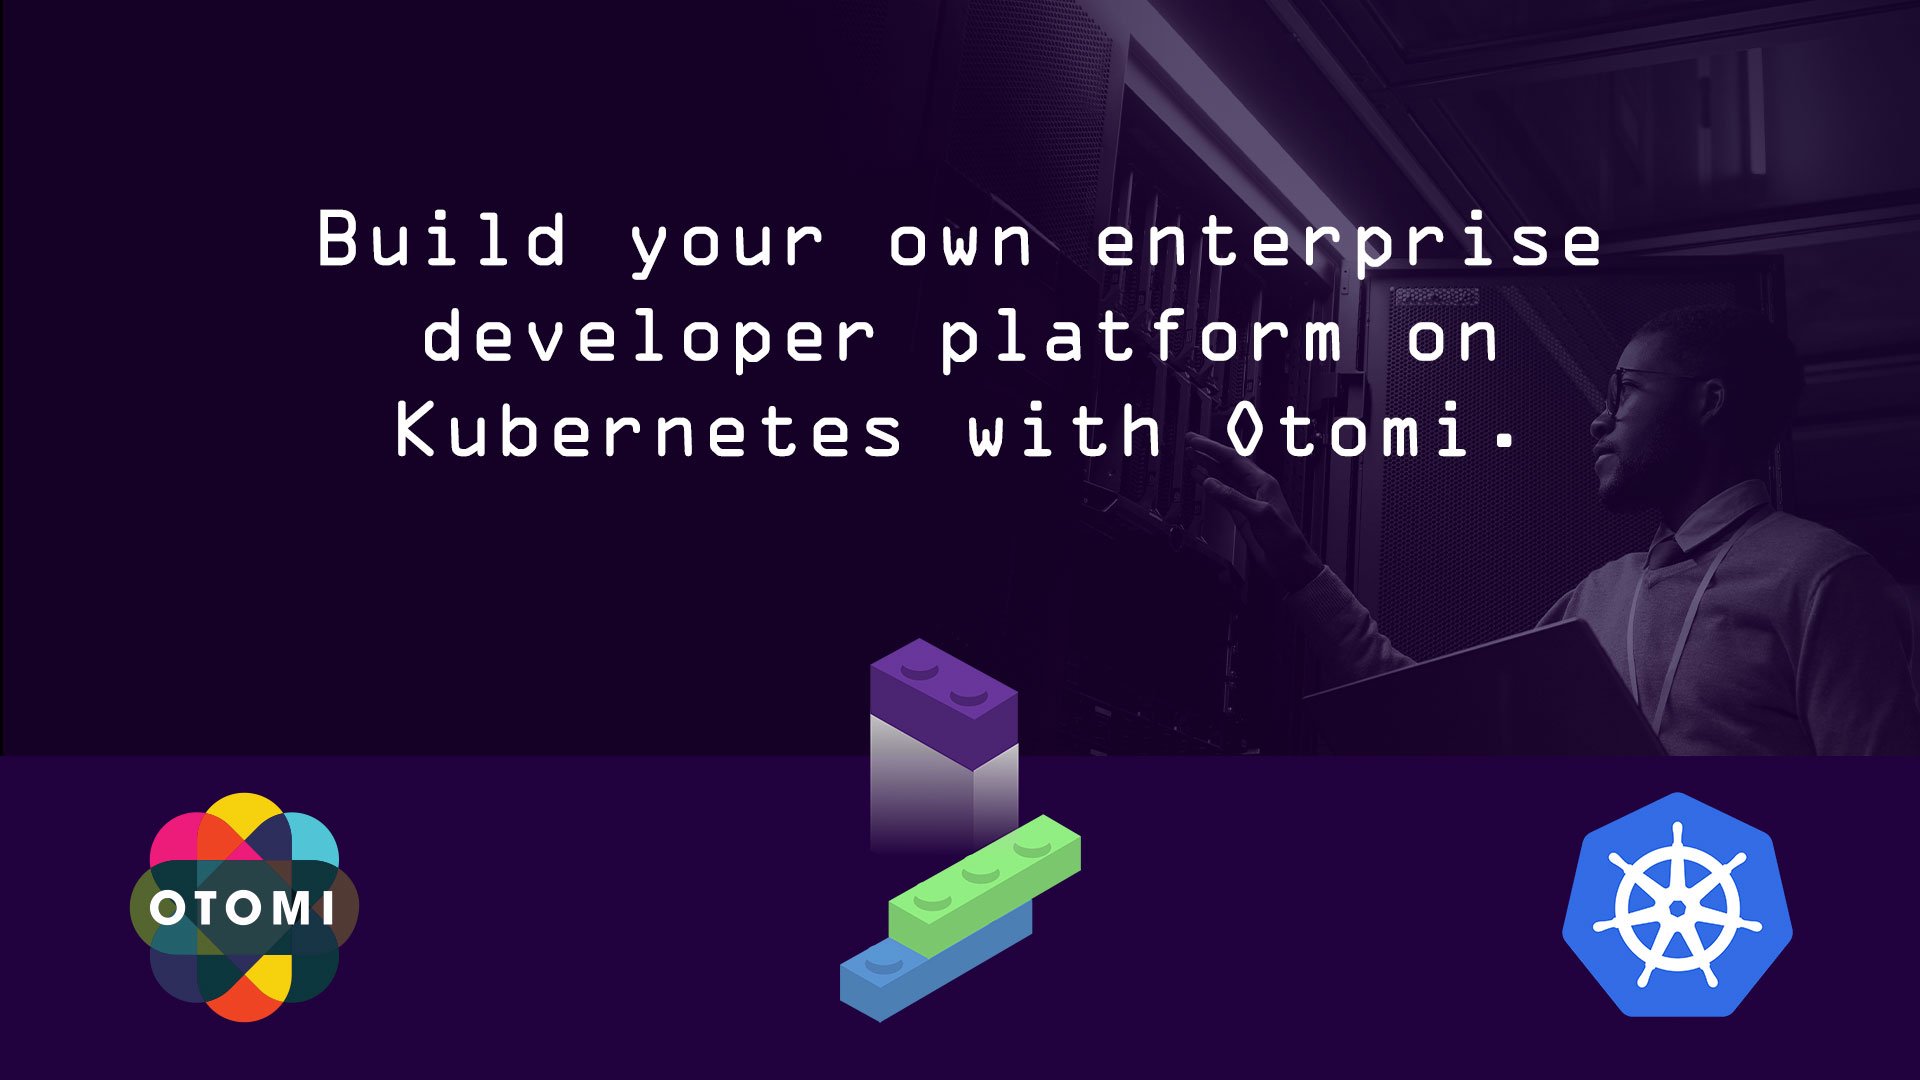

Building cloud native software and running it in production is quite a challenge these days. Besides getting the architecture of your software right, you have to deal with things like cloud infrastructure, CI/CD and a whole lot of security concerns – especially if you build your software in teams. Our work at ayedo is focused on helping you get the latter part right with our managed Kubernetes and Applications offerings. One of these applications is Otomi – a self-hosted PaaS that enables organizations to build their own developer platform on top of Kubernetes.
Otomi is open source software for Kubernetes that allows you to quickly onboard your teams to a well-integrated developer platform of cloud native tools that takes care of many of the challenges of running applications on Kubernetes:

This article is part of a series in which we explore the capabilities of Otomi as a developer platform and set it up for use in enterprise environments step by step. We will start by getting Otomi up and running on a standard Kubernetes cluster without any customization. Let’s dive in.
To follow this tutorial, you’ll need 2 things:
Polycrate works with so-called Workspaces. A workspace is, more or less, a single folder that contains all the necessary code and artifacts to build your desired system – in our case: Otomi on top of Kubernetes.
First, create your workspace folder:
mkdir -p ~/.polycrate/workspaces/otomi-fleet
cd ~/.polycrate/workspaces/otomi-fleet
Then, inside your workspace directory, create the workspace configuration file that contains all the settings we need to run Otomi on our Kubernetes cluster:
cat <<EOF > workspace.poly
name: otomi-fleet
dependencies:
  - ayedo/k8s/otomi:0.0.4
blocks:
- name: fleet
- name: otomi
  from: ayedo/k8s/otomi
  kubeconfig:
    from: fleet
  config:
    admin_password: otomi1234
EOF
Our workspace configuration contains the following settings:
name: the name of the workspace, here: otomi-fleetdependencies: you can define blocks from the Polycrate registry as dependencies for your workspace. These blocks work like classes that you can instantiate as virtual blocksblocks: a Polycrate workspace is composed of blocks which can contain arbitrary code
fleet: this is a virtual block that we need to get access to the Kubernetes cluster. We will learn more about this in the next blockotomi: this is a virtual block derived from our dependency ayedo/k8s/otomi
kubeconfig: here we specify the block that holds the Kubeconfig for our cluster. Polycrate will make sure that all Kubernetes-related code will be executed against the cluster defined in that Kubeconfig.config: the config section holds all Otomi-specific settings. In this case, it’s only the admin password as more is not needed for the scope of the articleThe last thing we have to do before we can install Otomi is to add the Kubeconfig of our cluster to the workspace:
mkdir -p artifacts/blocks/fleet
cp $KUBECONFIG artifacts/blocks/fleet/kubeconfig.yml
Note: the file must be named
kubeconfig.ymlfor Polycrate to pick it up
Now that our workspace is assembled, we first inspect the workspace:
polycrate workspace inspect
This will result in an error at first because the dependency ayedo/k8s/otomi has not been installed to the workspace yet:
INFO[0000] Successfully installed block to workspace     block=ayedo/k8s/otomi version=0.0.4 workspace=otomi-fleet
ERRO[0000] Dependency not found in the workspace         block=otomi dependency=ayedo/k8s/otomi missing=1 workspace=otomi-fleet
FATA[0000] Block 'ayedo/k8s/otomi' not found in the Workspace. Please check the 'from' stanza of Block otomi or run 'polycrate block install ayedo/k8s/otomi'
As you can see, by executing the above command, Polycrate automatically pulls the dependency from the registry to your workspace, so re-executing polycrate workspace inspect will now show the compiled workspace configuration without error:
name: otomi-fleet
dependencies:
- ayedo/k8s/otomi:0.0.4
config:
  image:
    reference: ghcr.io/polycrate/polycrate
    version: 0.8.14
  blocksroot: blocks
  blocksconfig: block.poly
  workspaceconfig: workspace.poly
  workflowsroot: workflows
  artifactsroot: artifacts
  containerroot: /workspace
  sshprivatekey: id_rsa
  sshpublickey: id_rsa.pub
  remoteroot: /polycrate
  dockerfile: Dockerfile.poly
  globals: {}
blocks:
- name: fleet
  kubeconfig:
    path: /workspace/artifacts/blocks/fleet/kubeconfig.yml
    localpath: /root/.polycrate/workspaces/otomi-fleet/artifacts/blocks/fleet/kubeconfig.yml
    containerpath: /workspace/artifacts/blocks/fleet/kubeconfig.yml
  artifacts:
    path: /workspace/artifacts/blocks/fleet
    localpath: /root/.polycrate/workspaces/otomi-fleet/artifacts/blocks/fleet
    containerpath: /workspace/artifacts/blocks/fleet
- name: otomi
  actions:
  - name: install
    script:
    - ansible-playbook install.yml
    block: otomi
  - name: uninstall
    script:
    - ansible-playbook uninstall.yml
    block: otomi
  config:
    admin_password: otomi1234
    apps:
      cert_manager:
        email: ""
        issuer: custom-ca
        stage: staging
    chart:
      create_namespace: true
      name: otomi
      repo:
        name: otomi
        url: https://otomi.io/otomi-core
      version: 0.5.18
    cluster:
      domain_suffix: ""
      k8s_version: "1.22"
      name: otomi
      owner: otomi
      provider: custom
    namespace: otomi-core
    oidc:
      admin_group_id: ""
      client_id: ""
      client_secret: ""
      enabled: false
      issuer: ""
      team_admin_group_id: ""
    otomi:
      has_external_dns: false
      has_external_idp: false
    version: main
  from: ayedo/k8s/otomi
  version: 0.0.4
  workdir:
    path: /workspace/blocks/ayedo/k8s/otomi
    localpath: /root/.polycrate/workspaces/otomi-fleet/blocks/ayedo/k8s/otomi
    containerpath: /workspace/blocks/ayedo/k8s/otomi
  kubeconfig:
    from: fleet
  artifacts:
    path: /workspace/artifacts/blocks/otomi
    localpath: /root/.polycrate/workspaces/otomi-fleet/artifacts/blocks/otomi
    containerpath: /workspace/artifacts/blocks/otomi
- name: ayedo/k8s/otomi
  actions:
  - name: install
    script:
    - ansible-playbook install.yml
    block: ayedo/k8s/otomi
  - name: uninstall
    script:
    - ansible-playbook uninstall.yml
    block: ayedo/k8s/otomi
  config:
    admin_password: ""
    apps:
      cert_manager:
        email: ""
        issuer: custom-ca
        stage: staging
    chart:
      create_namespace: true
      name: otomi
      repo:
        name: otomi
        url: https://otomi.io/otomi-core
      version: 0.5.18
    cluster:
      domain_suffix: ""
      k8s_version: "1.22"
      name: otomi
      owner: otomi
      provider: custom
    namespace: otomi-core
    oidc:
      admin_group_id: ""
      client_id: ""
      client_secret: ""
      enabled: false
      issuer: ""
      team_admin_group_id: ""
    otomi:
      has_external_dns: false
      has_external_idp: false
    version: main
  version: 0.0.4
  workdir:
    path: /workspace/blocks/ayedo/k8s/otomi
    localpath: /root/.polycrate/workspaces/otomi-fleet/blocks/ayedo/k8s/otomi
    containerpath: /workspace/blocks/ayedo/k8s/otomi
  artifacts:
    path: /workspace/artifacts/blocks/ayedo/k8s/otomi
    localpath: /root/.polycrate/workspaces/otomi-fleet/artifacts/blocks/ayedo/k8s/otomi
    containerpath: /workspace/artifacts/blocks/ayedo/k8s/otomi
path: /workspace
sync:
  local:
    branch:
      name: main
  remote:
    branch:
      name: main
    name: origin
localpath: /root/.polycrate/workspaces/otomi-fleet
containerpath: /workspace
The compiled configuration apparently contains a whole lot more than what we configured in our workspace configuration. We will not go into detail here – if you want to learn more about how Polycrate works, please refer to the official documentation.
This should only give you an idea about additional configuration supported by Otomi and Polycrate.
Now that our workspace has all its dependencies prepared, we can deploy Otomi by running the install action of the otomi block:
polycrate run otomi install
This installs Otomi to the configured cluster using Helm – pretty much what the official Otomi docs expect you to do.
The command should finish within roughly 30 seconds, depending on the size and “juice” of your Kubernetes cluster. However, the real installation process has just been started in the background.
Otomi features a very interesting way of installing and managing the product. Here’s what happens:
otomi in the otomi-core namespaceotomi--1-$ID in the same namespace212-121-243-9.nip.iokeycloak.212-121-243-9.nip.iogitea.212-121-243-9.nip.io. Here’s where the magic begins: the Otomi installer will create a repository called otomi-values in Gitea and persists all configuration for the platform inside that repositoryauth.212-121-243-9.nip.io to connect all applications with Keycloakdrone.212-121-243-9.nip.io and connect it to Gitea. The magic goes on: whenever you make changes to the Otomi configuration – either through the He
Five Key Features of Portainer 1. Docker Environments 2. Access Control 3. CI/CD Capabilities 4. …
Kubernetes can help a software or digitalization agency generate additional revenue through the …
By leveraging Kubernetes, developers and operations teams can overcome the challenges of …